Error code 0xc190020e usually occurs when there is no enough free disk space in order to download and install the update. This error also occurs with Windows Feature Updates where the install can take up a required number of gigabytes of disk space.
In this article, we will discuss the different methods used to resolve this error code.
In many cases, the error code 0xc190020e pops up when updating Windows 7 to Windows 10, but many people complain about it when installing Windows 10 Creators Update and Fall Creators Update. Consequently, the majority of affected systems were running 32-bit system.
Reasons for the error code 0xc190020e
Following are some of the reasons for the occurrence of this error:
- Windows Update problems,
- Corrupt system files,
- Third-party antivirus installed
- Low disk space usage
Methods to Fix the Error Code 0xc190020e
Increase Disk Space Usage
In order to fix the Windows 10 upgrade error 0xc190020e, you should increase disk space usage. To do this,
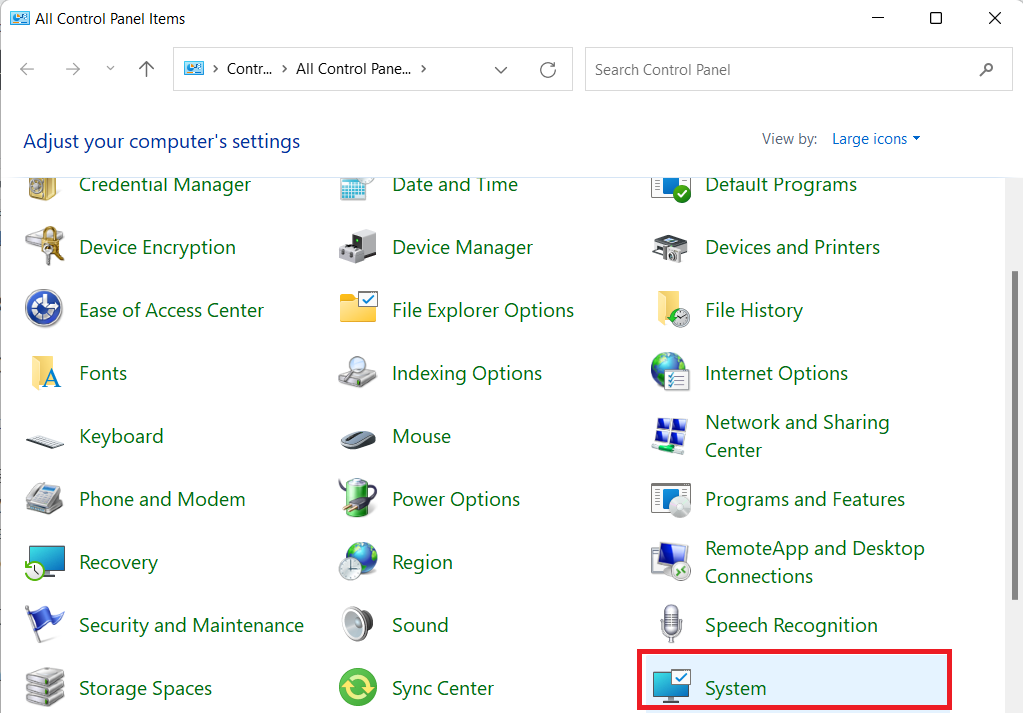
- Firstly, go to the control panel and choose System option
- Secondly, click on the Advance System Settings and open System Protection tab.
- After that, click on configure button to continue and drag the slider to increase amount of space allocated to System Protection.
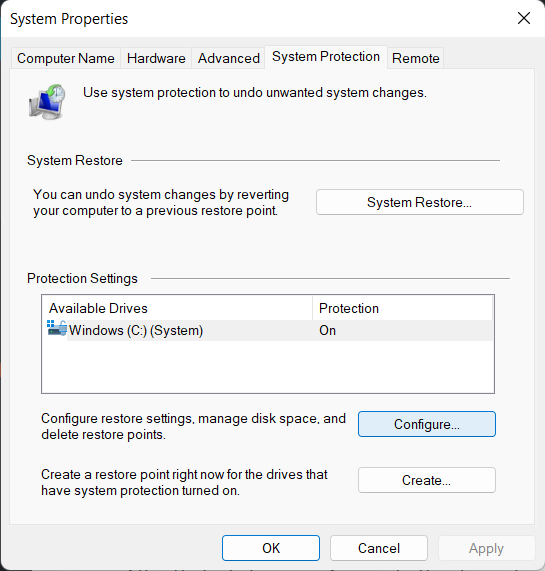
- Finally, click Apply and press OK button to confirm the change.
Use Disk Clean-up
To perform the disk clean-up:
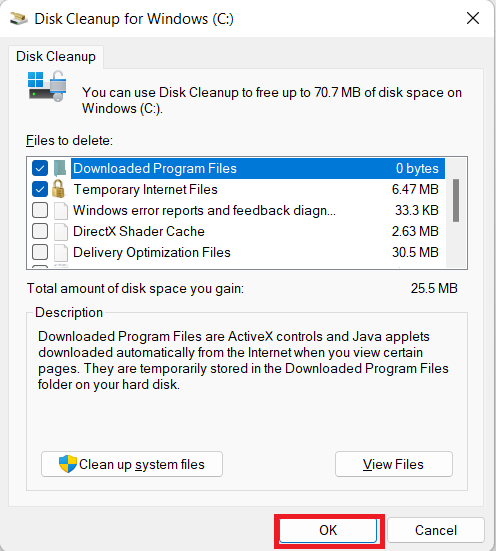
- Firstly, go to the Windows key and click on the Disk Clean-up tool.
- After that, select the System drive that you opt for cleaning.
- Finally, Click OK to proceed.
Modify the Registry Entries
- Firstly, go to the Windows key + R, type regedit and hit Enter.
- Secondly, click File option and select Export.
- After this, enter the name of the backup in the File Name field and click Export.
- When the backup is ready,
- go to DHKEY_LOCAL_MACHINE\\SOFTWARE\\Microsoft\\Windows\\Current Version\\WindowsUpdate\\OSUpgrade location
- After that, Right-click on the empty space and select New -> DWORD.
- Then, click AllowOSUpgrade and set its value to 1.
- Finally, close Registry Editor and restart the PC.
In Conclusion,
If you have problem in doing this method, we advise you to choose a Technical Support from us to help you better.
In addition, you can check the reviews of Assured assist from your friends and family.
I am sure any disaster that would have happened for few are due to their system hardware dependencies.

Finally, we give you assurance about your money and the service. If you like to see the procedure for a paid support, you may ask the Tech available online here on this page.